> ## Documentation Index
> Fetch the complete documentation index at: https://docs.walletconnect.com/llms.txt
> Use this file to discover all available pages before exploring further.
# Test mode
> Integrate and verify your WalletConnect Pay setup end to end without moving real funds.
Every WalletConnect Pay account has two modes: **test** and **live**. Test mode lets you build and verify your full integration — merchants, settlement configuration, and payments — without executing anything on-chain.
Throughout these docs and on the hosted payment page, purple indicates test mode. In the dashboard, the **Test / Live** selector at the top shows which mode you're working in.
## How test mode works
Test and live are separated at the **account level**, and you choose the mode by **which API key you use**. There is no `test` flag or mode parameter on any request — a payment created with a test key is a test payment, and a payment created with a live key is a live payment.
```mermaid actions={false} theme={null}
flowchart LR
subgraph test ["Test mode"]
TK["wcp_test_… key"] --> TP["Test payment"]
TP --> TS["Synthetic settlement
(no on-chain execution)"]
end
subgraph live ["Live mode"]
LK["wcp_… key"] --> LP["Live payment"]
LP --> LS["Real on-chain settlement"]
end
API["Same API
api.pay.walletconnect.com"] --> TK
API --> LK
style test fill:#F5F3FF,stroke:#7C3AED,color:#5B21B6
style TK fill:#EDE9FE,stroke:#7C3AED,color:#5B21B6
style TP fill:#EDE9FE,stroke:#7C3AED,color:#5B21B6
style TS fill:#EDE9FE,stroke:#7C3AED,color:#5B21B6
```
Both modes use the **same API, the same base URL, and the same endpoints**. Nothing about your code changes between test and live except the key.
| | Test mode | Live mode |
| ---------------------- | ----------------------------------- | ---------------------------------------- |
| **API key prefix** | `wcp_test_` | `wcp_` |
| **Base URL** | `https://api.pay.walletconnect.com` | `https://api.pay.walletconnect.com` |
| **On-chain execution** | None — settlement is simulated | Real transactions |
| **Transaction hash** | Synthetic (`test:{paymentId}`) | Real on-chain hash |
| **Payment limit** | None | Pilot limit until your account goes live |
| **Data** | Fully separate from live data | Fully separate from test data |
## Test API keys
Test keys are created in the [dashboard](https://merchant.pay.walletconnect.com/en/api-keys), alongside live keys. You can tell them apart by the prefix: test keys always start with `wcp_test_`.
```bash theme={null}
export WCP_API_KEY="wcp_test_…" # test key — safe to experiment with
export WCP_BASE="https://api.pay.walletconnect.com"
```
Merchants, settlement configurations, and payments created with a test key exist only in test mode. They are never visible to live requests, and vice versa.
API responses do **not** say whether a resource is test or live. The mode is determined entirely by the key that created the resource — if you need to tell test and live data apart in your systems, track which key produced it.
## What test payments do
A test payment moves through the same lifecycle as a live payment — created, processing, succeeded — so you can exercise your full integration, including status polling. The differences:
* **No funds move.** Nothing is executed on-chain and no settlement is delivered.
* **The transaction hash is synthetic.** Completed test payments report a `txId` of the form `test:{paymentId}` instead of a real on-chain hash.
* **Amounts are realistic.** Payment options are quoted from the amount you request, converted per token at current exchange rates — the same way live payments are priced.
## Test mode in the dashboard
You can run the whole test flow from the [dashboard](https://merchant.pay.walletconnect.com) without writing any code.
### Create a test payment
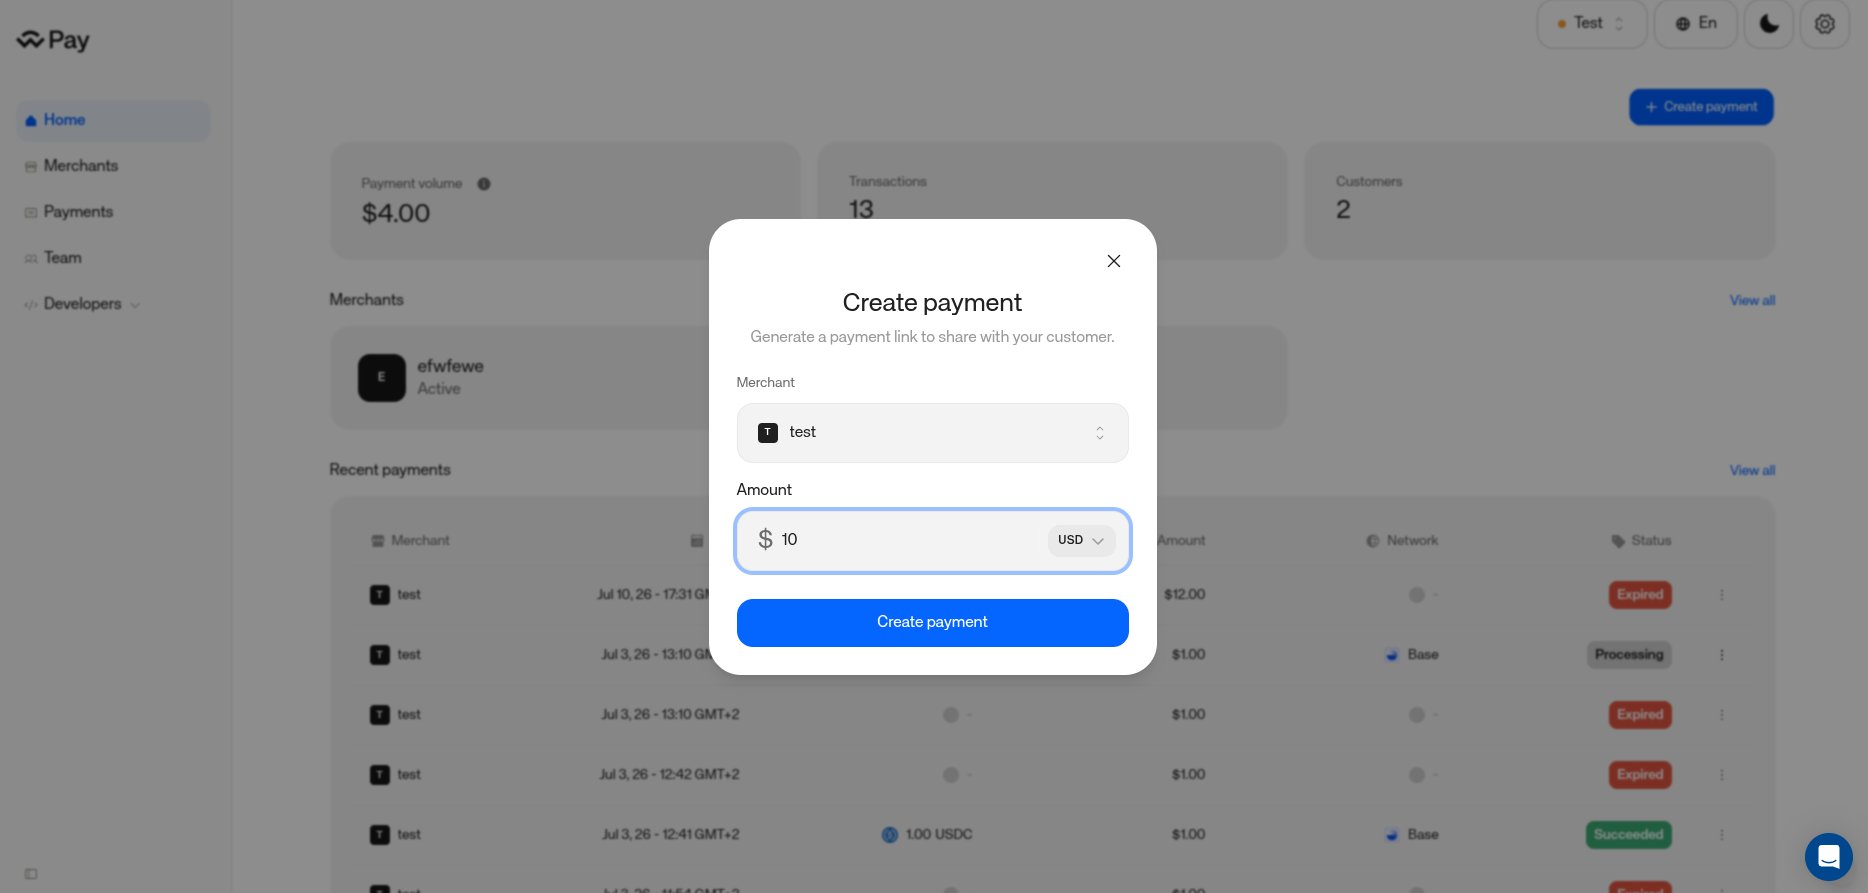
1. Switch the dashboard to **Test** with the selector in the top-right corner.
2. If you don't have any merchants in test mode yet, open **Merchants** and click **Create merchant** — give it a name and a contact email. Merchants are separate between test and live, so your live merchants don't appear in test.
3. Open **Payments** and click **Create payment**.
4. Select a merchant and enter any amount — test mode has no payment limit.
5. Click **Create payment**, then **Copy link** to share the payment link or open it yourself.
 ### Simulate status changes
Test payments don't move through their lifecycle on their own — you drive them, from either of two places:
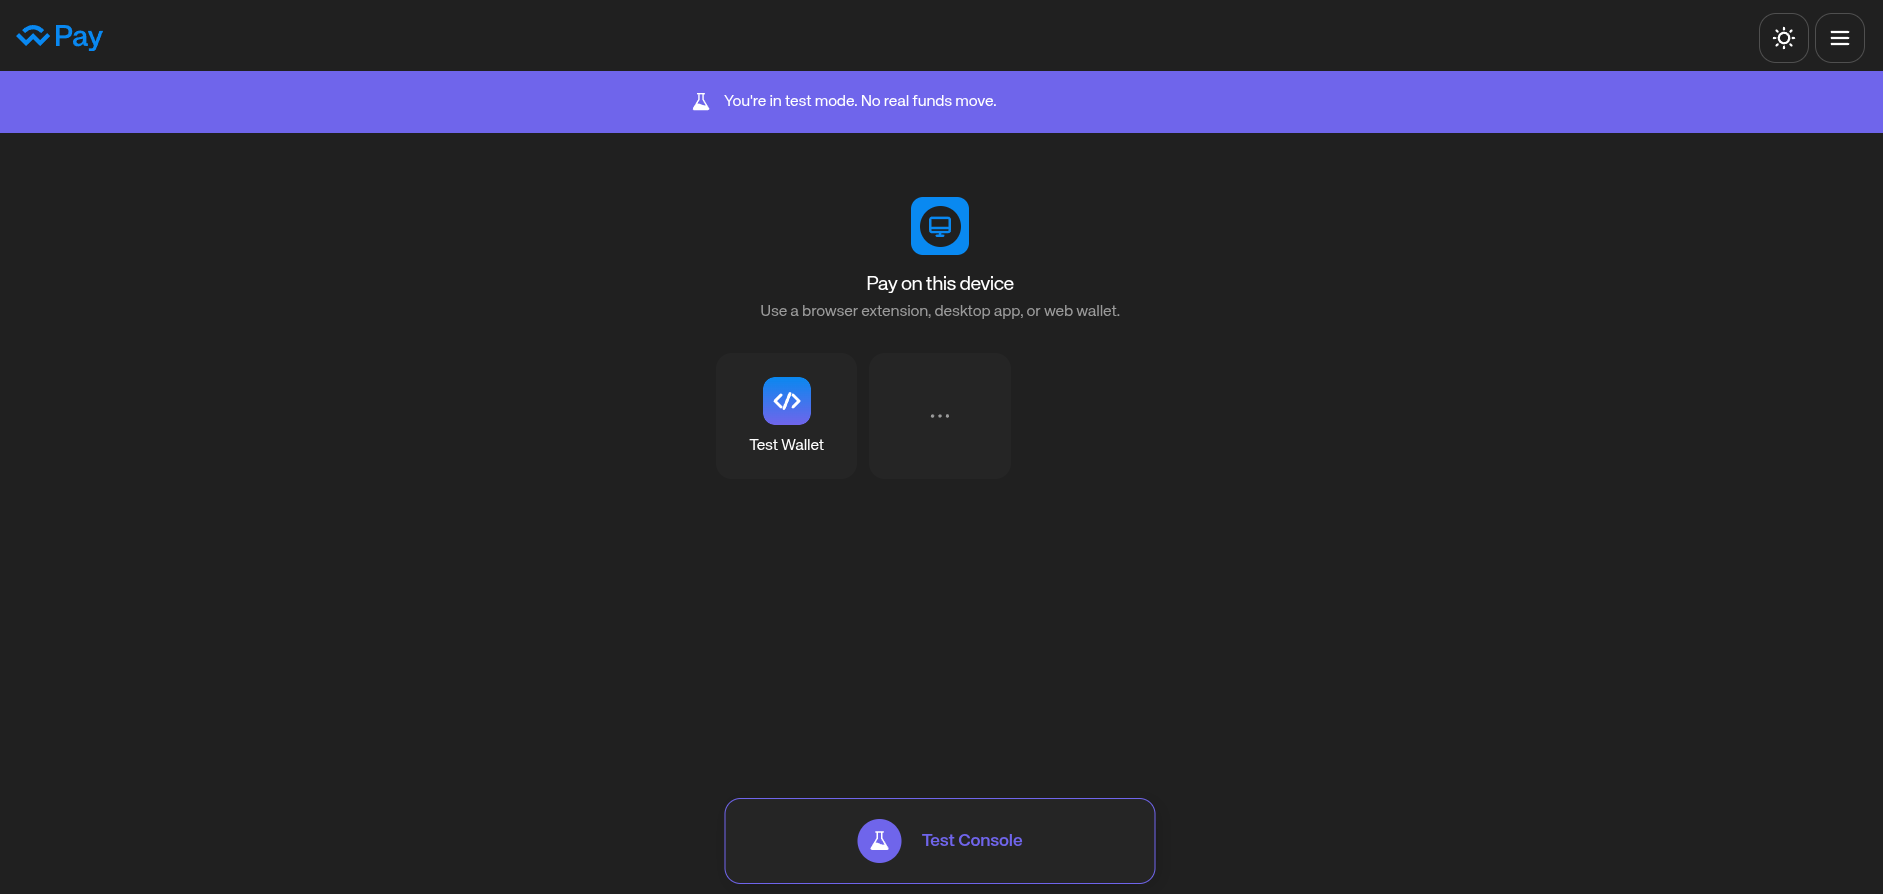
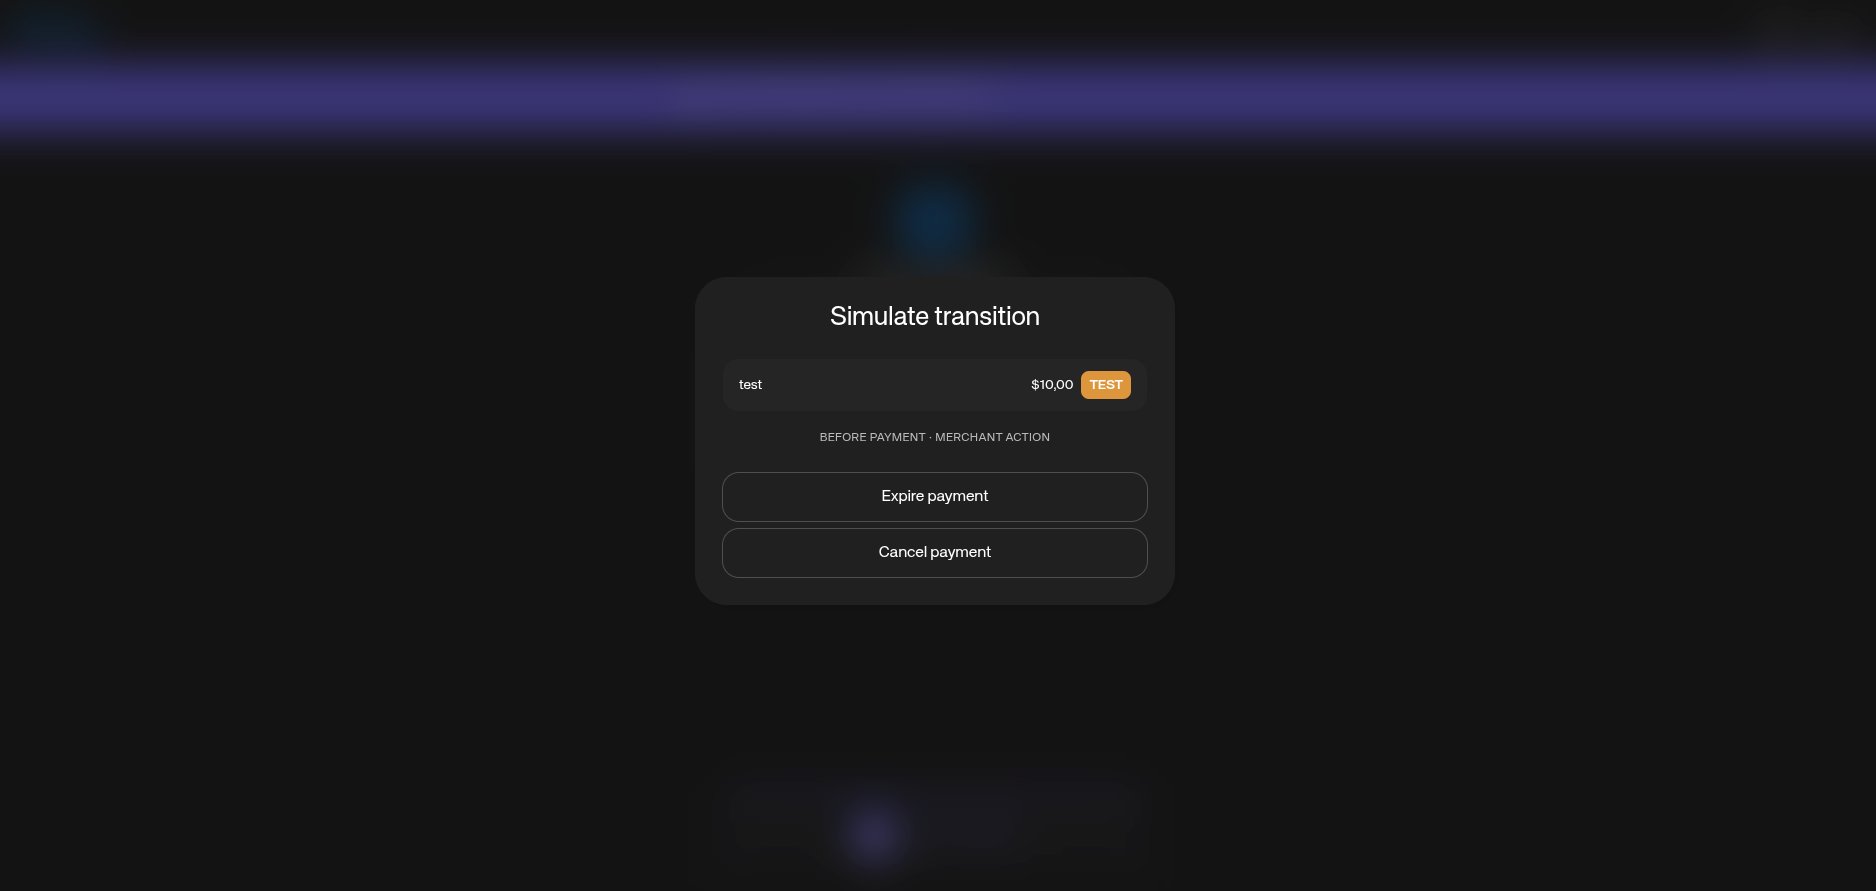
* **The hosted payment page** — open the generated payment link. In test mode the page shows a purple banner ("You're in test mode. No real funds move.") and lets you pay with a simulated **Test Wallet**. A floating **Test Console** lets you simulate the transition: **Confirm success**, **Simulate failure**, **Expire payment**, or **Cancel payment**.
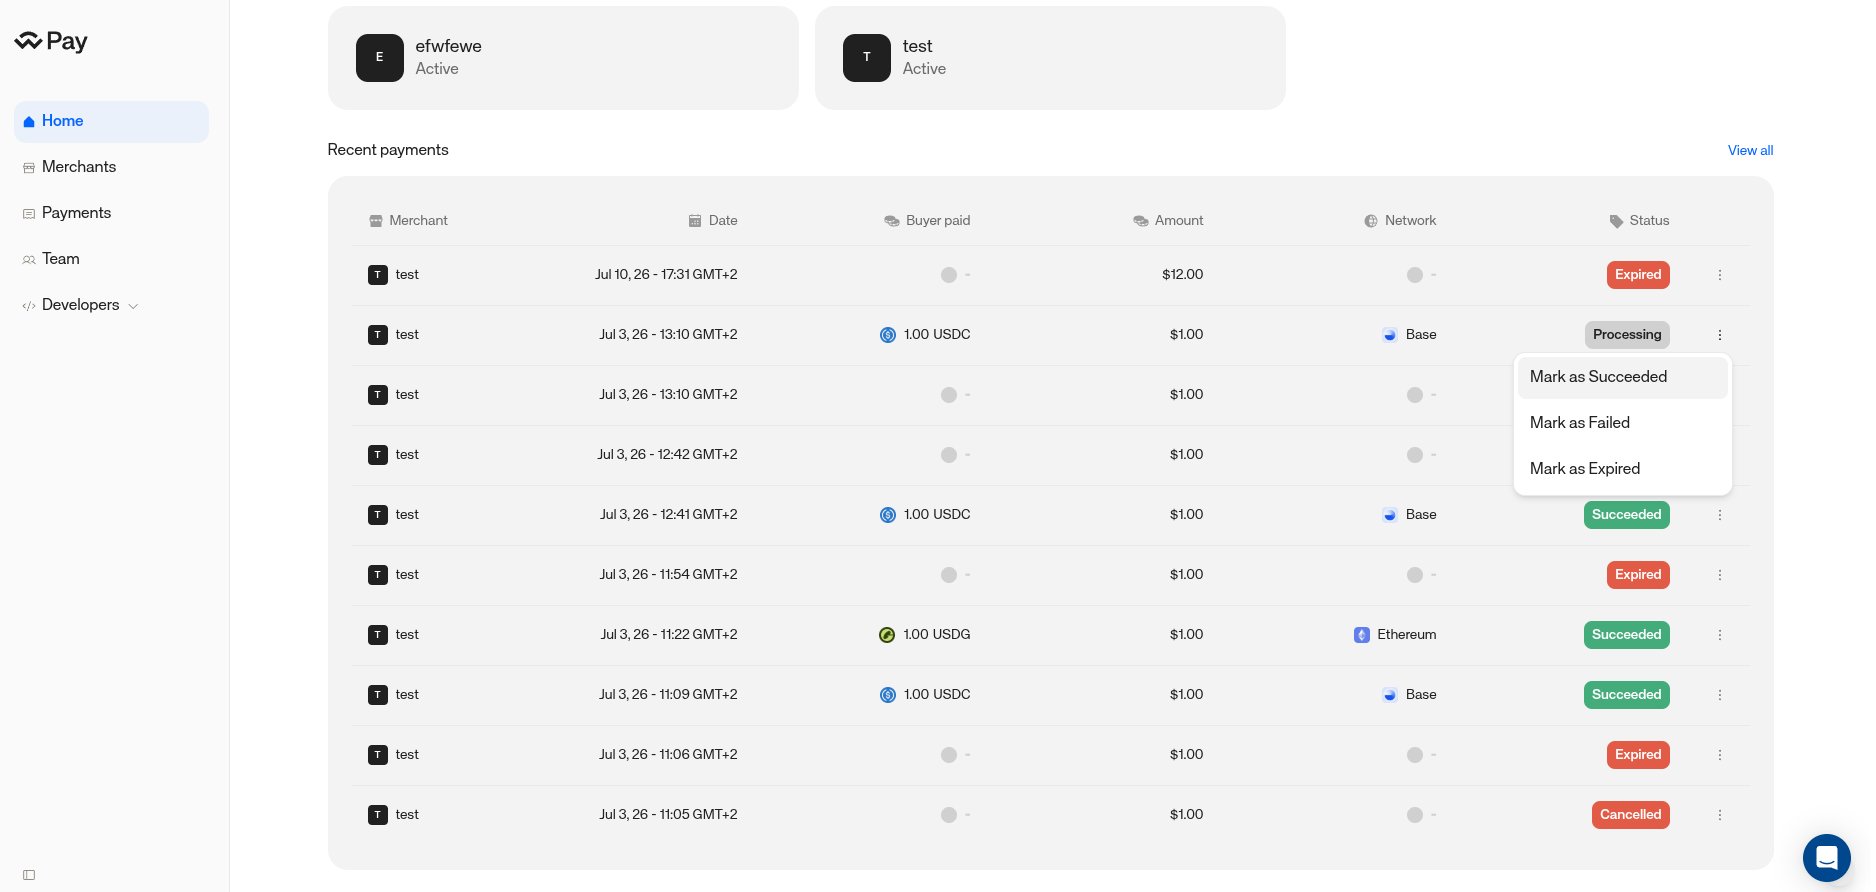
* **The dashboard payments list** — in test mode, each payment row has a **Simulation actions** menu (three dots): pick **Mark as \[status]** to transition it.
### Simulate status changes
Test payments don't move through their lifecycle on their own — you drive them, from either of two places:
* **The hosted payment page** — open the generated payment link. In test mode the page shows a purple banner ("You're in test mode. No real funds move.") and lets you pay with a simulated **Test Wallet**. A floating **Test Console** lets you simulate the transition: **Confirm success**, **Simulate failure**, **Expire payment**, or **Cancel payment**.
* **The dashboard payments list** — in test mode, each payment row has a **Simulation actions** menu (three dots): pick **Mark as \[status]** to transition it.
 ### Allowed status transitions
Whichever surface you use, a test payment can only move along these paths:
```mermaid actions={false} theme={null}
stateDiagram-v2
direction LR
requires_action --> processing
requires_action --> expired
requires_action --> cancelled
processing --> succeeded
processing --> failed
processing --> expired
```
Terminal states (`succeeded`, `failed`, `expired`, `cancelled`) have no further actions. This lets you exercise every status your integration needs to handle — including the failure paths that are hard to produce on demand with real payments.
## The pilot limit
Test mode has no payment limit — build and verify as much as you need.
**Live mode** starts in **pilot**: live payments are real, but they count toward a total payment limit until your account is taken off pilot. In live mode, the dashboard home shows a **Pilot to Live** card with the limit you have left. When you're ready to process real volume, click **Request to go live** — our team reviews the request and removes the limit.
Switching from test to live is just a key swap: create a **live key** (prefix `wcp_`) in the [dashboard](https://merchant.pay.walletconnect.com/en/api-keys) and use it instead — same API, same endpoints, no code changes. Test-mode data does not carry over, so re-create your merchants and settlement configuration with the live key.
## Next steps
Create your first test payment in six steps.
How API keys and the Api-Key header work.
### Allowed status transitions
Whichever surface you use, a test payment can only move along these paths:
```mermaid actions={false} theme={null}
stateDiagram-v2
direction LR
requires_action --> processing
requires_action --> expired
requires_action --> cancelled
processing --> succeeded
processing --> failed
processing --> expired
```
Terminal states (`succeeded`, `failed`, `expired`, `cancelled`) have no further actions. This lets you exercise every status your integration needs to handle — including the failure paths that are hard to produce on demand with real payments.
## The pilot limit
Test mode has no payment limit — build and verify as much as you need.
**Live mode** starts in **pilot**: live payments are real, but they count toward a total payment limit until your account is taken off pilot. In live mode, the dashboard home shows a **Pilot to Live** card with the limit you have left. When you're ready to process real volume, click **Request to go live** — our team reviews the request and removes the limit.
Switching from test to live is just a key swap: create a **live key** (prefix `wcp_`) in the [dashboard](https://merchant.pay.walletconnect.com/en/api-keys) and use it instead — same API, same endpoints, no code changes. Test-mode data does not carry over, so re-create your merchants and settlement configuration with the live key.
## Next steps
Create your first test payment in six steps.
How API keys and the Api-Key header work.