

How test mode works
Test and live are separated at the account level, and you choose the mode by which API key you use. There is notest flag or mode parameter on any request — a payment created with a test key is a test payment, and a payment created with a live key is a live payment.
Both modes use the same API, the same base URL, and the same endpoints. Nothing about your code changes between test and live except the key.
Test API keys
Test keys are created in the dashboard, alongside live keys. You can tell them apart by the prefix: test keys always start withwcp_test_.
What test payments do
A test payment moves through the same lifecycle as a live payment — created, processing, succeeded — so you can exercise your full integration, including status polling. The differences:- No funds move. Nothing is executed on-chain and no settlement is delivered.
- The transaction hash is synthetic. Completed test payments report a
txIdof the formtest:{paymentId}instead of a real on-chain hash. - Amounts are realistic. Payment options are quoted from the amount you request, converted per token at current exchange rates — the same way live payments are priced.
Test mode in the dashboard
You can run the whole test flow from the dashboard without writing any code.Create a test payment
- Switch the dashboard to Test with the selector in the top-right corner.
- If you don’t have any merchants in test mode yet, open Merchants and click Create merchant — give it a name and a contact email. Merchants are separate between test and live, so your live merchants don’t appear in test.
- Open Payments and click Create payment.
- Select a merchant and enter any amount — test mode has no payment limit.
- Click Create payment, then Copy link to share the payment link or open it yourself.
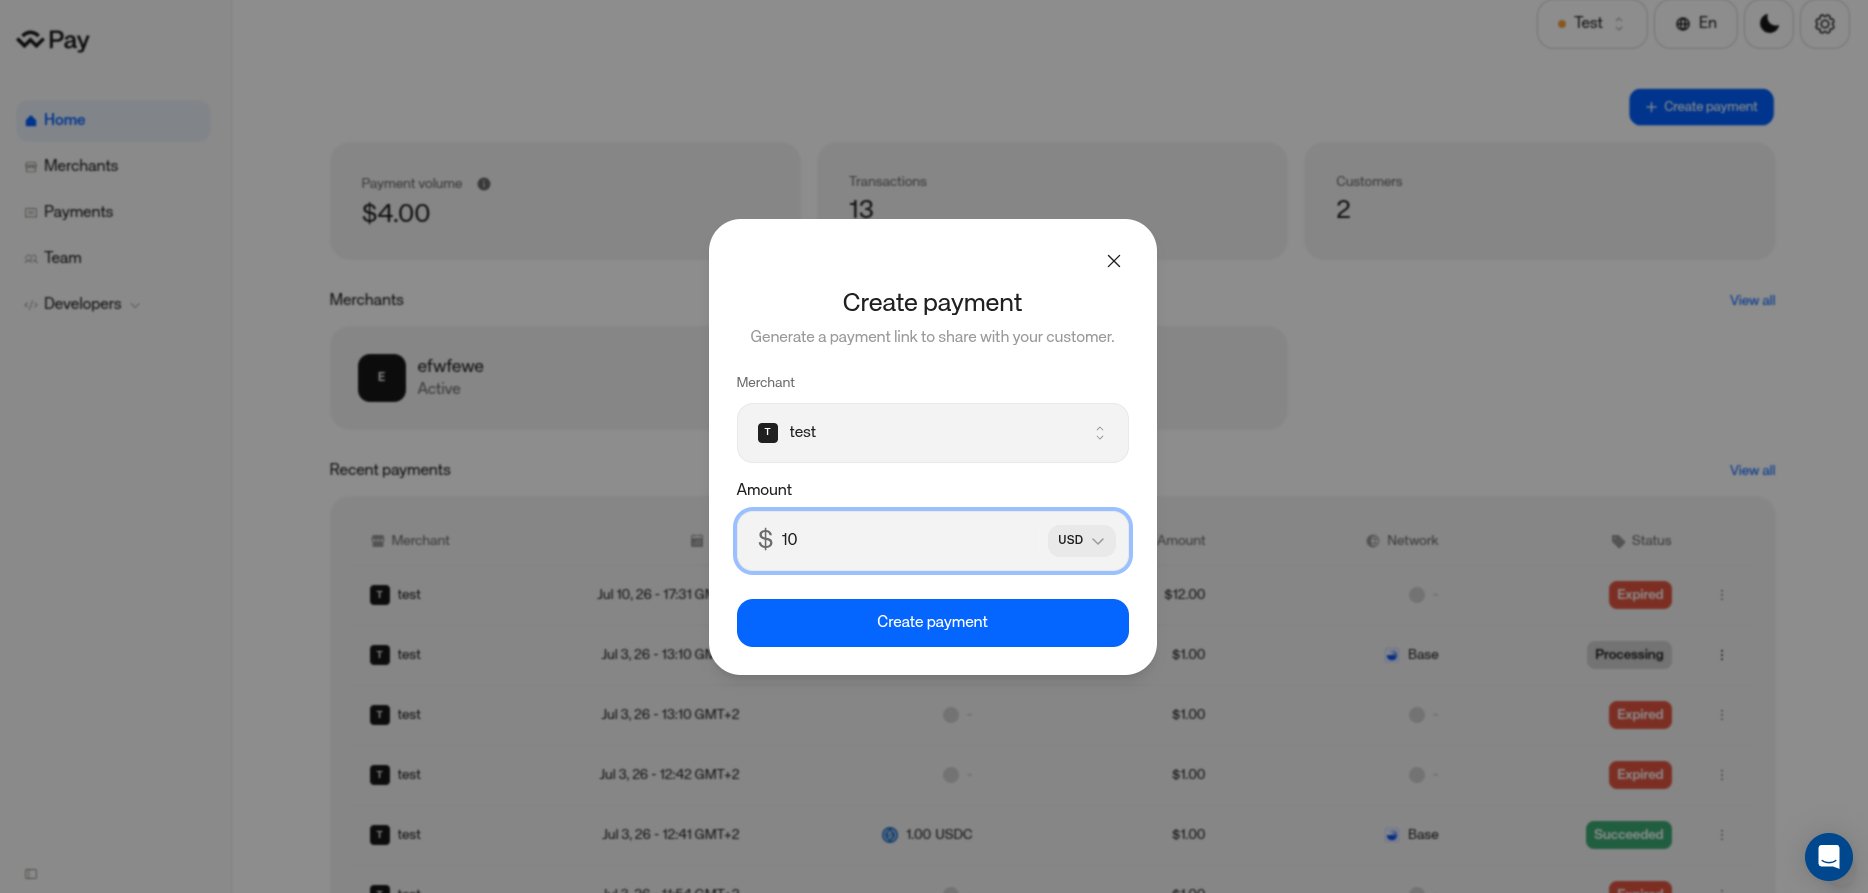
Create payment in test mode (note the selector on Test, top right) — pick a merchant and enter any amount.
Simulate status changes
Test payments don’t move through their lifecycle on their own — you drive them, from either of two places:- The hosted payment page — open the generated payment link. In test mode the page shows a purple banner (“You’re in test mode. No real funds move.”) and lets you pay with a simulated Test Wallet. A floating Test Console lets you simulate the transition: Confirm success, Simulate failure, Expire payment, or Cancel payment.
- The dashboard payments list — in test mode, each payment row has a Simulation actions menu (three dots): pick Mark as [status] to transition it.
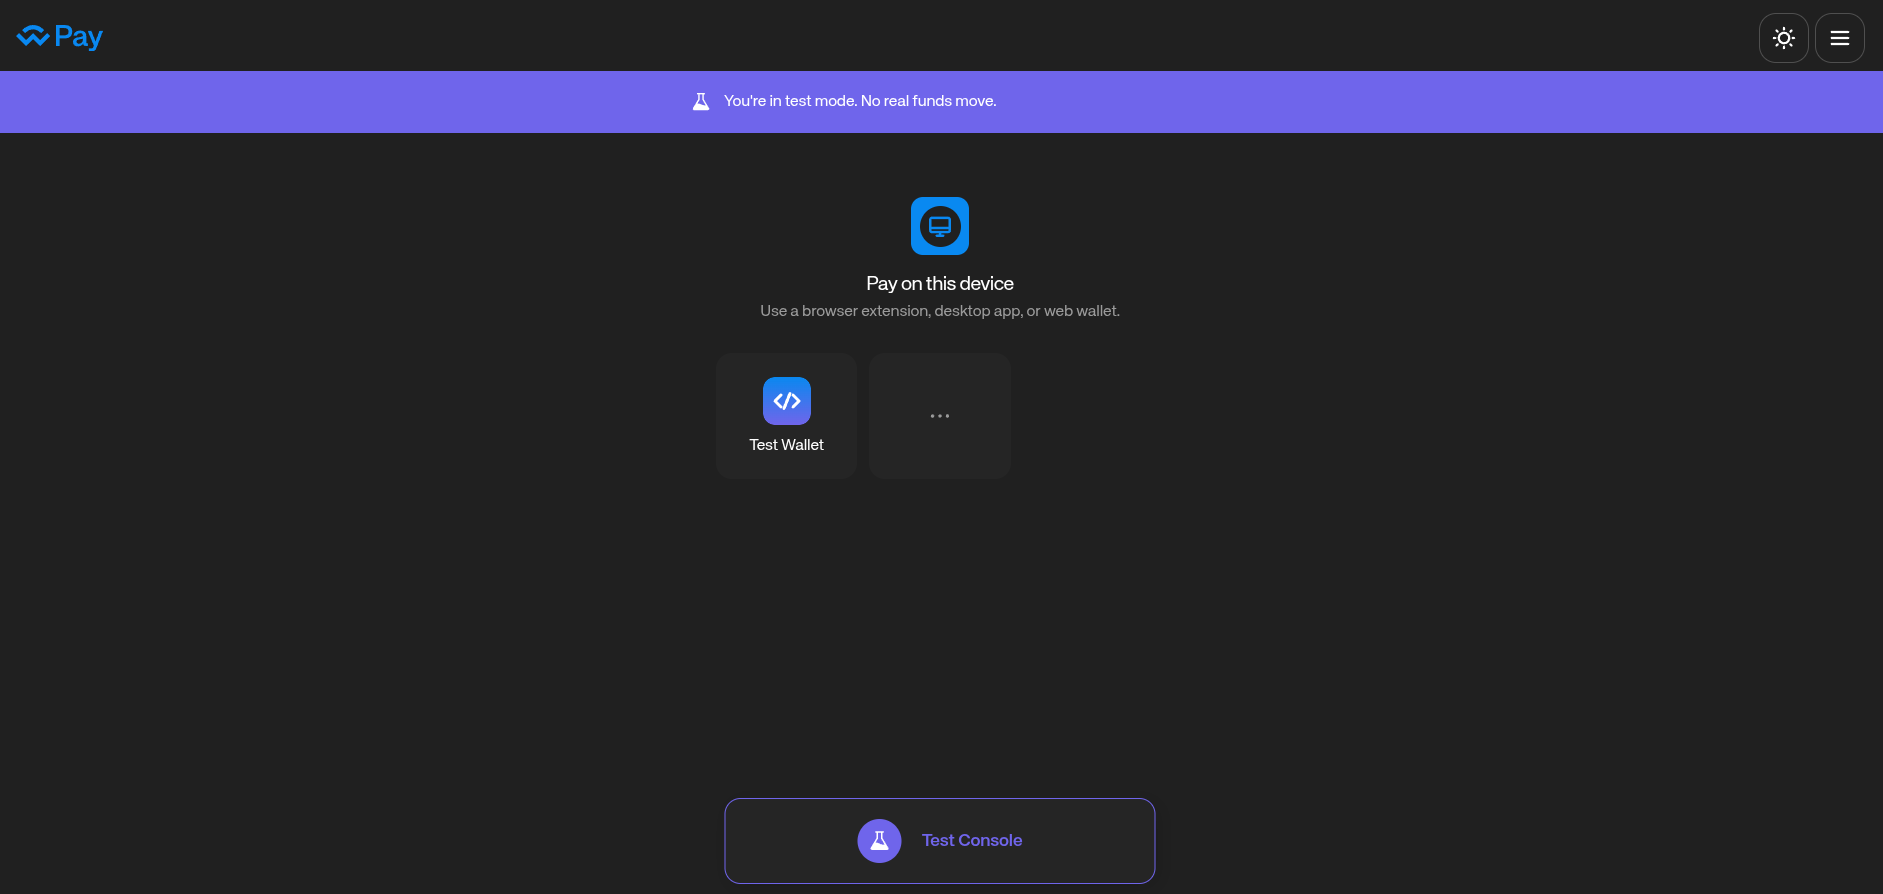
The hosted payment page in test mode — purple banner, Test Wallet, and the Test Console at the bottom.
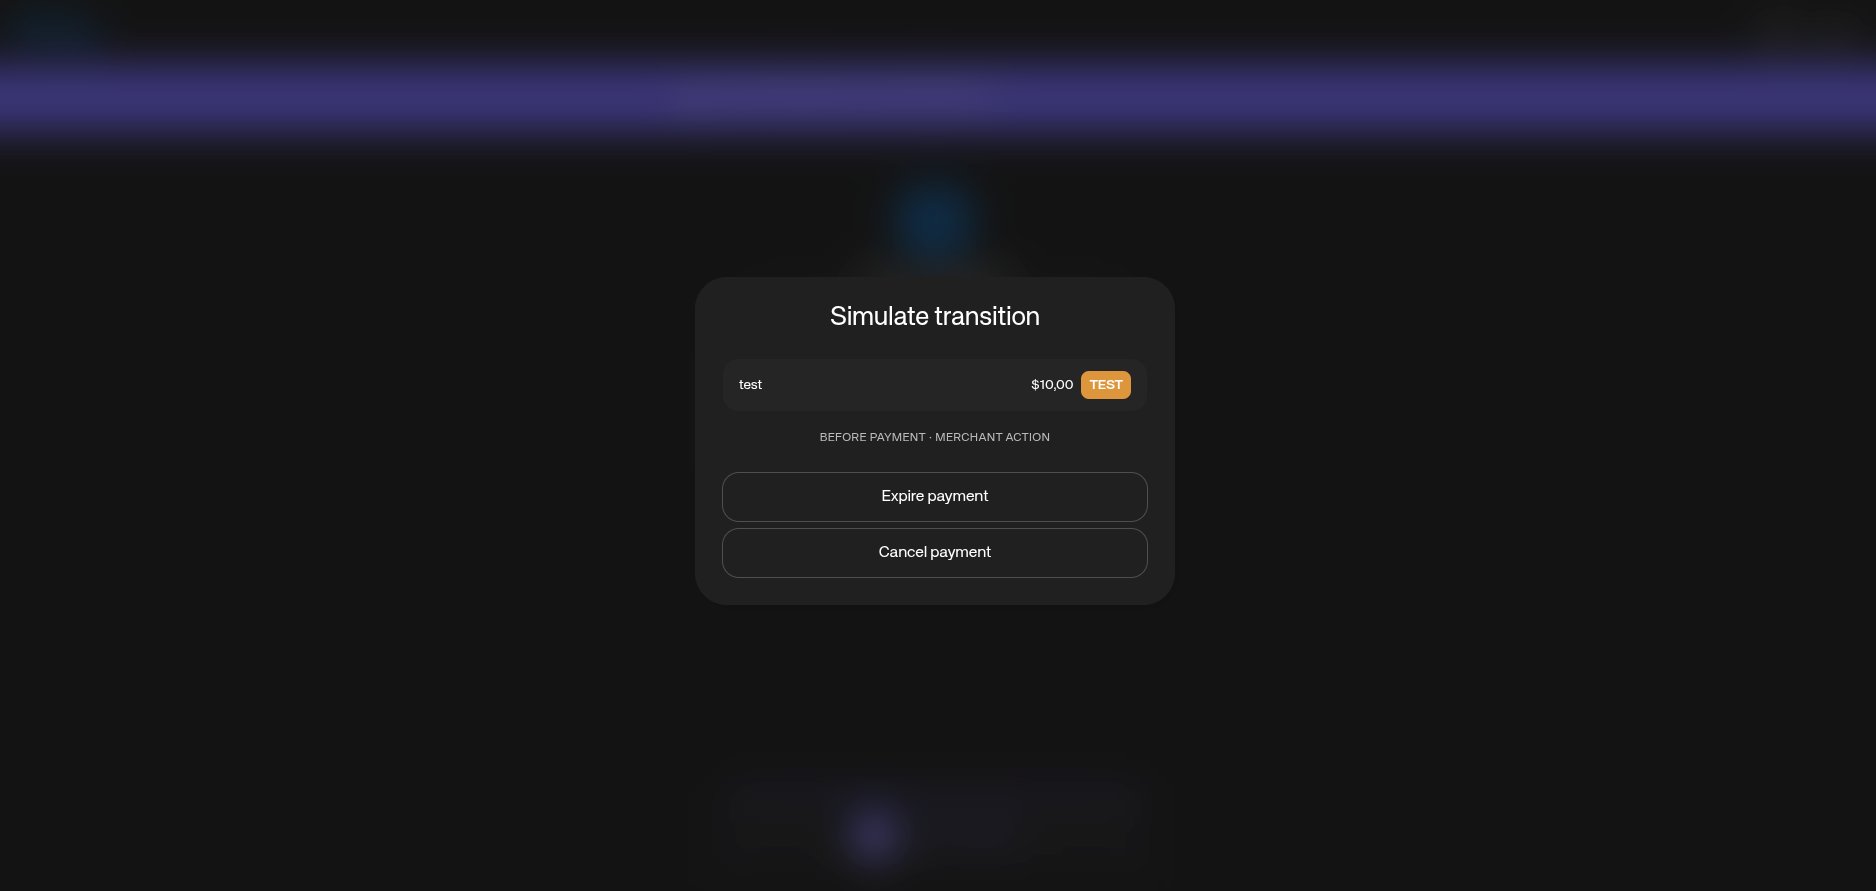
The Test Console — available actions depend on the payment's current status.
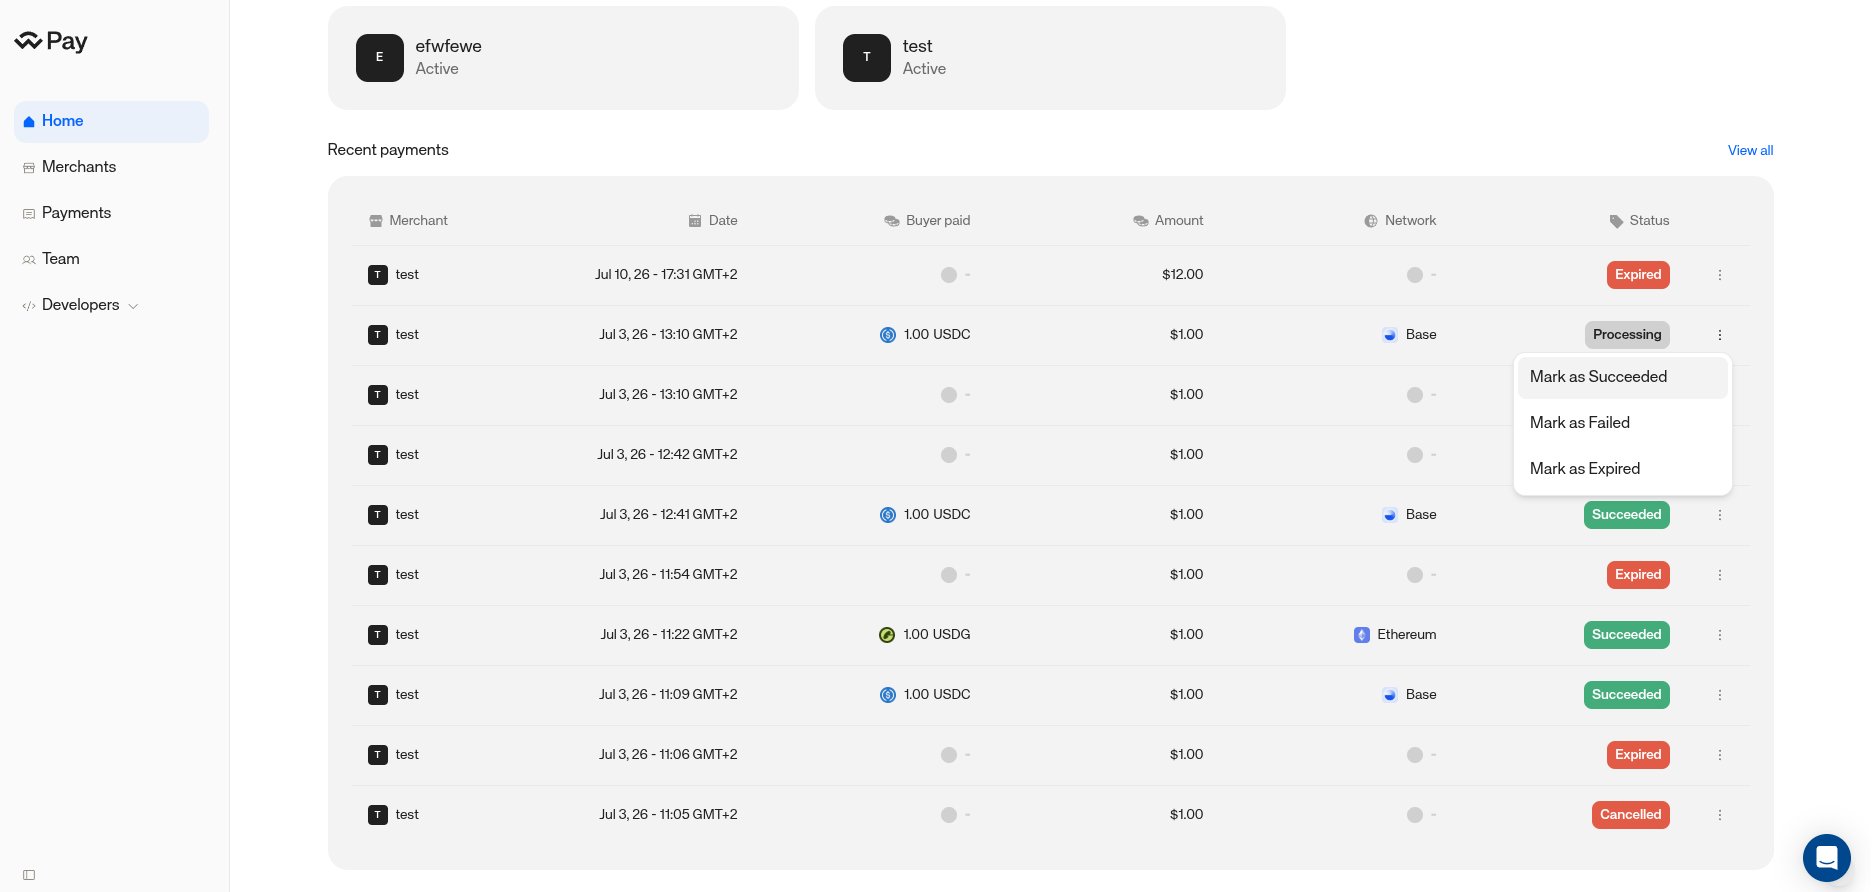
Simulation actions in the dashboard — a processing payment can be marked as succeeded, failed, or expired.
Allowed status transitions
Whichever surface you use, a test payment can only move along these paths: Terminal states (succeeded, failed, expired, cancelled) have no further actions. This lets you exercise every status your integration needs to handle — including the failure paths that are hard to produce on demand with real payments.
The pilot limit
Test mode has no payment limit — build and verify as much as you need. Live mode starts in pilot: live payments are real, but they count toward a total payment limit until your account is taken off pilot. In live mode, the dashboard home shows a Pilot to Live card with the limit you have left. When you’re ready to process real volume, click Request to go live — our team reviews the request and removes the limit. Switching from test to live is just a key swap: create a live key (prefixwcp_) in the dashboard and use it instead — same API, same endpoints, no code changes. Test-mode data does not carry over, so re-create your merchants and settlement configuration with the live key.
Next steps
Quickstart
Create your first test payment in six steps.
Authentication
How API keys and the Api-Key header work.