AppKit
With a layered feature stack spanning onboarding to transactions, messaging and more, AppKit enables apps to build powerful top-to-bottom web3 experiences made to last, all through one seamless integration.
Get Started

React
Get started with AppKit in React.

Next.js
Get started with AppKit in Next.js.

Vue
Get started with AppKit in Vue.

JavaScript
Get started with AppKit in JavaScript.

React Native
Get started with AppKit in React Native.

Flutter
Get started with AppKit in Flutter.

Android
Get started with AppKit in Android.

iOS
Get started with AppKit in iOS.

Unity
Get started with AppKit in Unity.
Features
Some of the key features of the AppKit SDK include:
- Support for multiple frameworks. Easily integrate with React, Vue, Svelte, vanilla JavaScript, and more.
- EIP-6963. support for browser extension wallets.
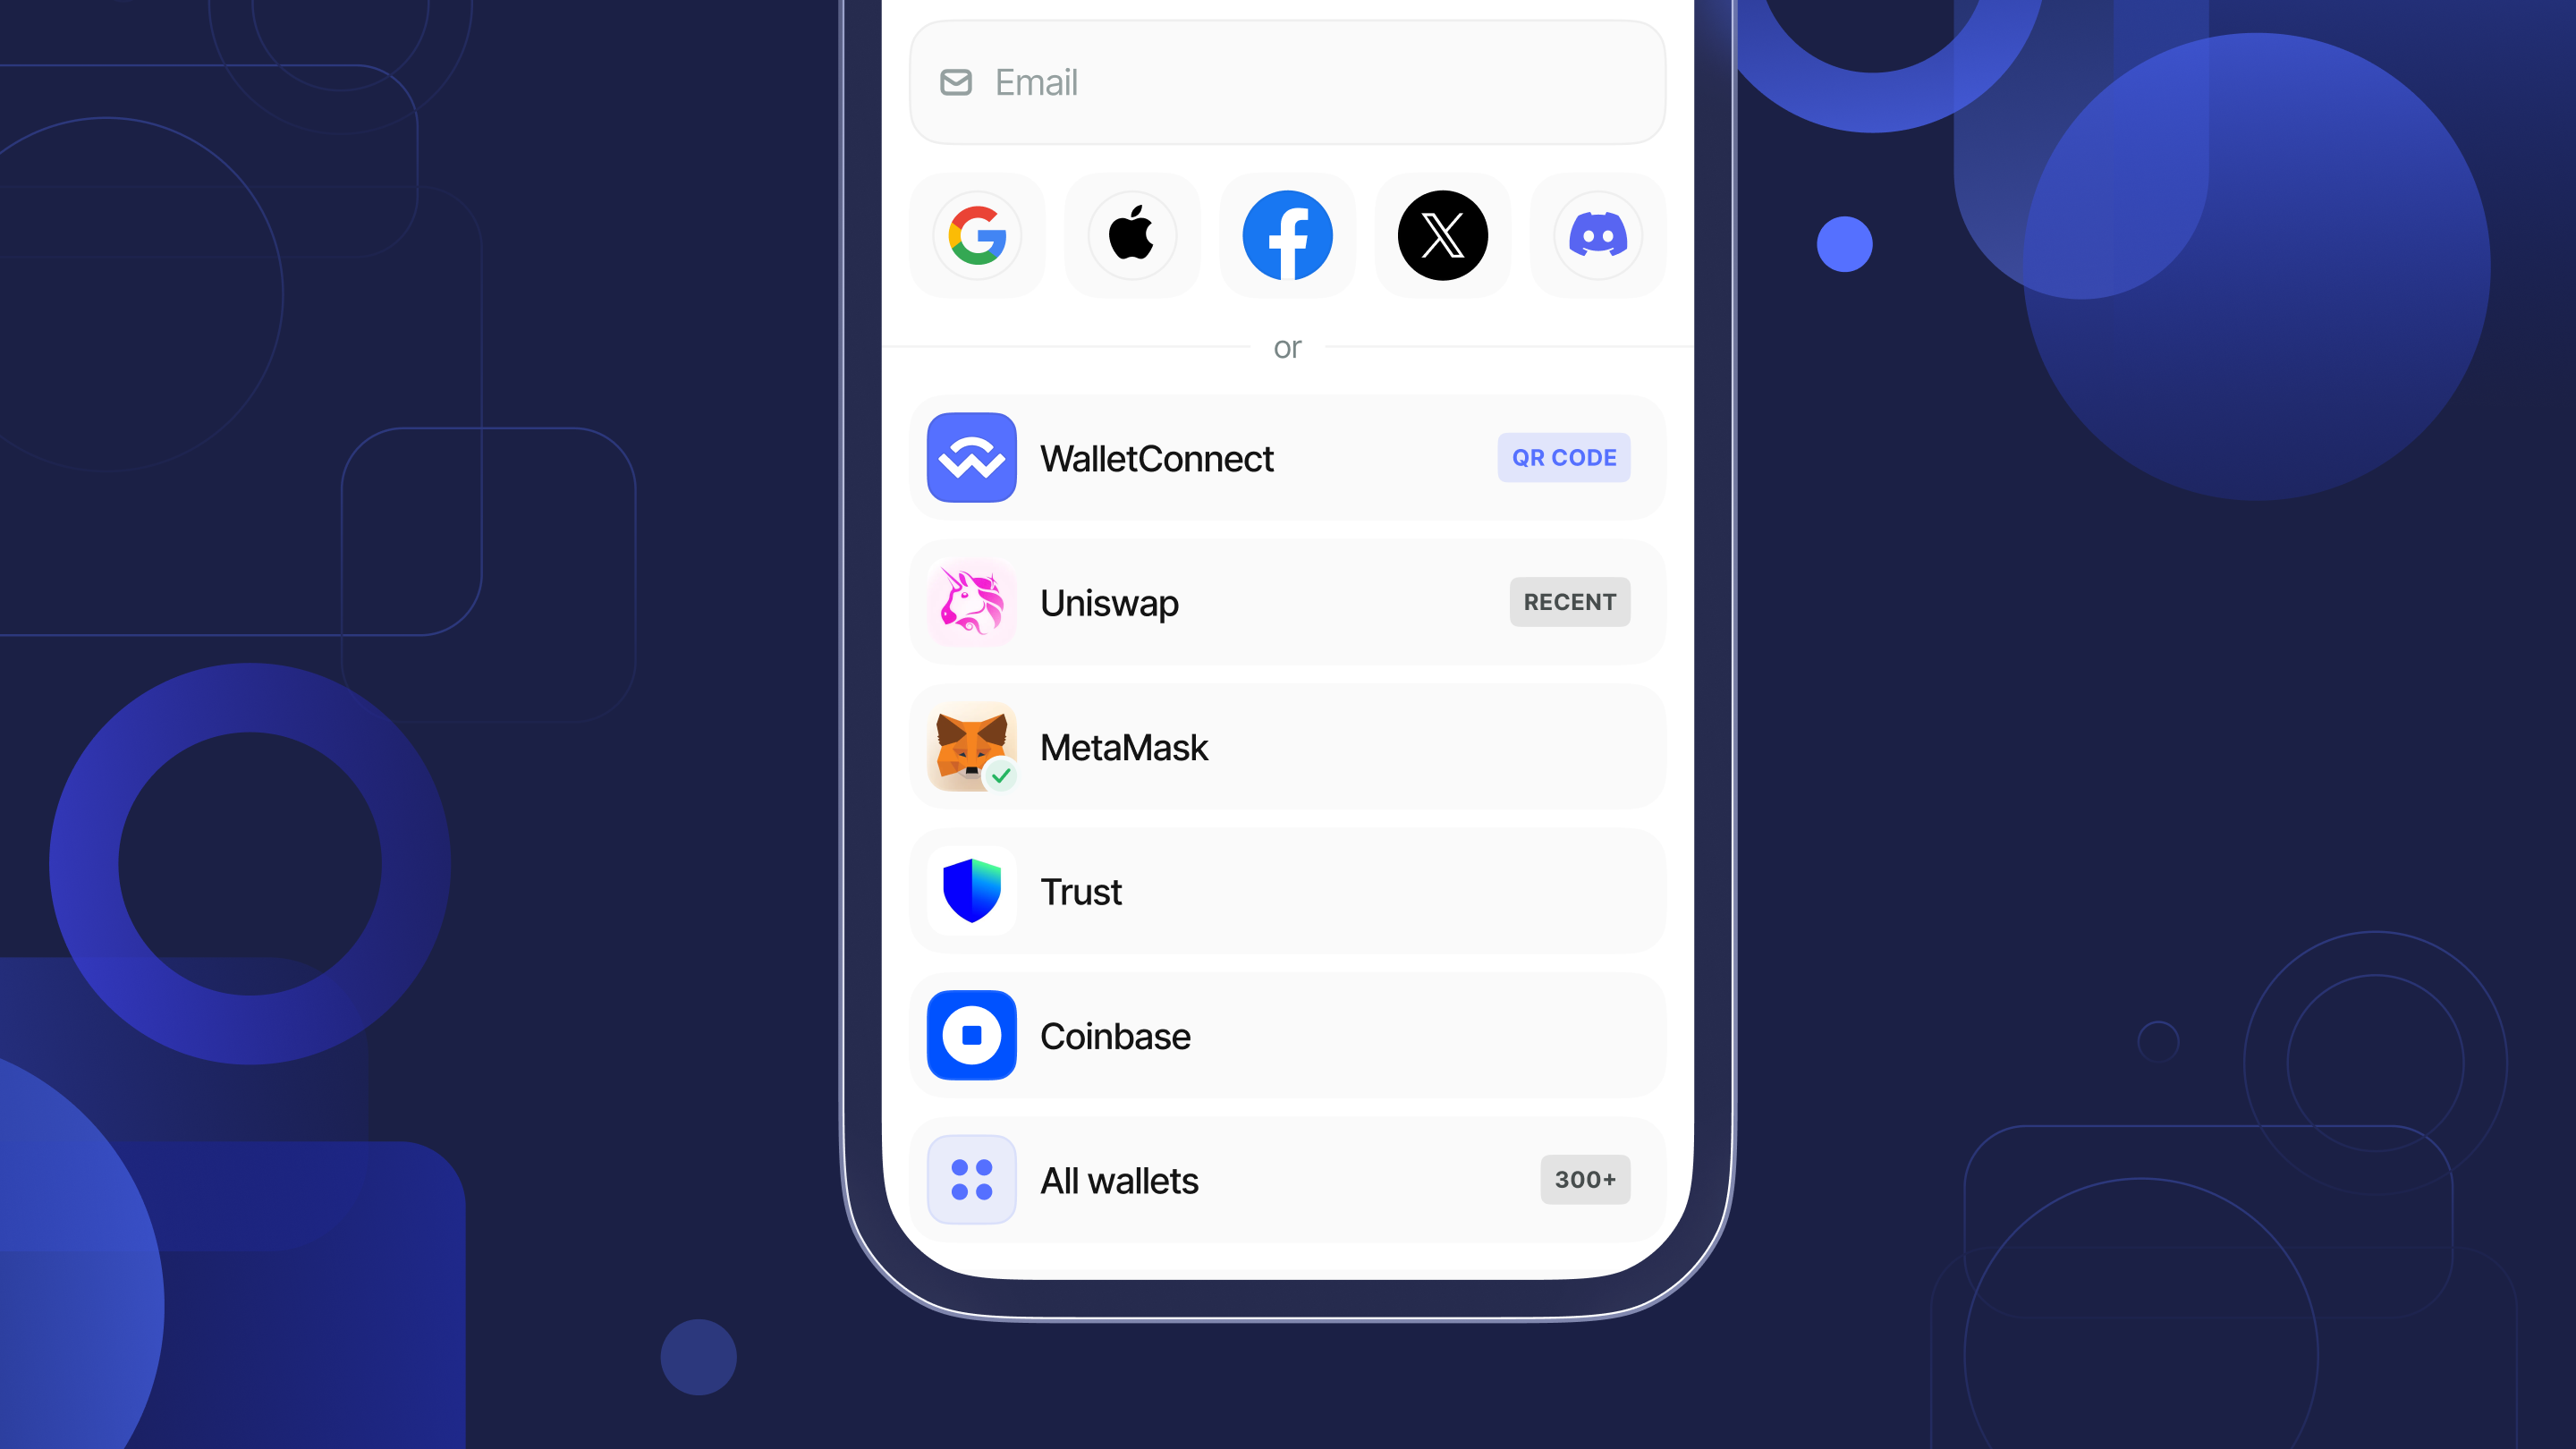
- Email Wallets. Allow users to seamlessly connect to dapps with their email address.
- On-Ramp. Enable users to buy crypto with fiat currency.
- Customizable UI. Choose between light and dark modes and accent colors, or even infuse it with your own branding.
- Multi-chain ready. Easily set up support for any EVM chain.
- Hundreds of Wallets. Connect with MetaMask, Rainbow, Coinbase and many more.
- Transaction History. View all transactions from the account view.
Was this helpful?