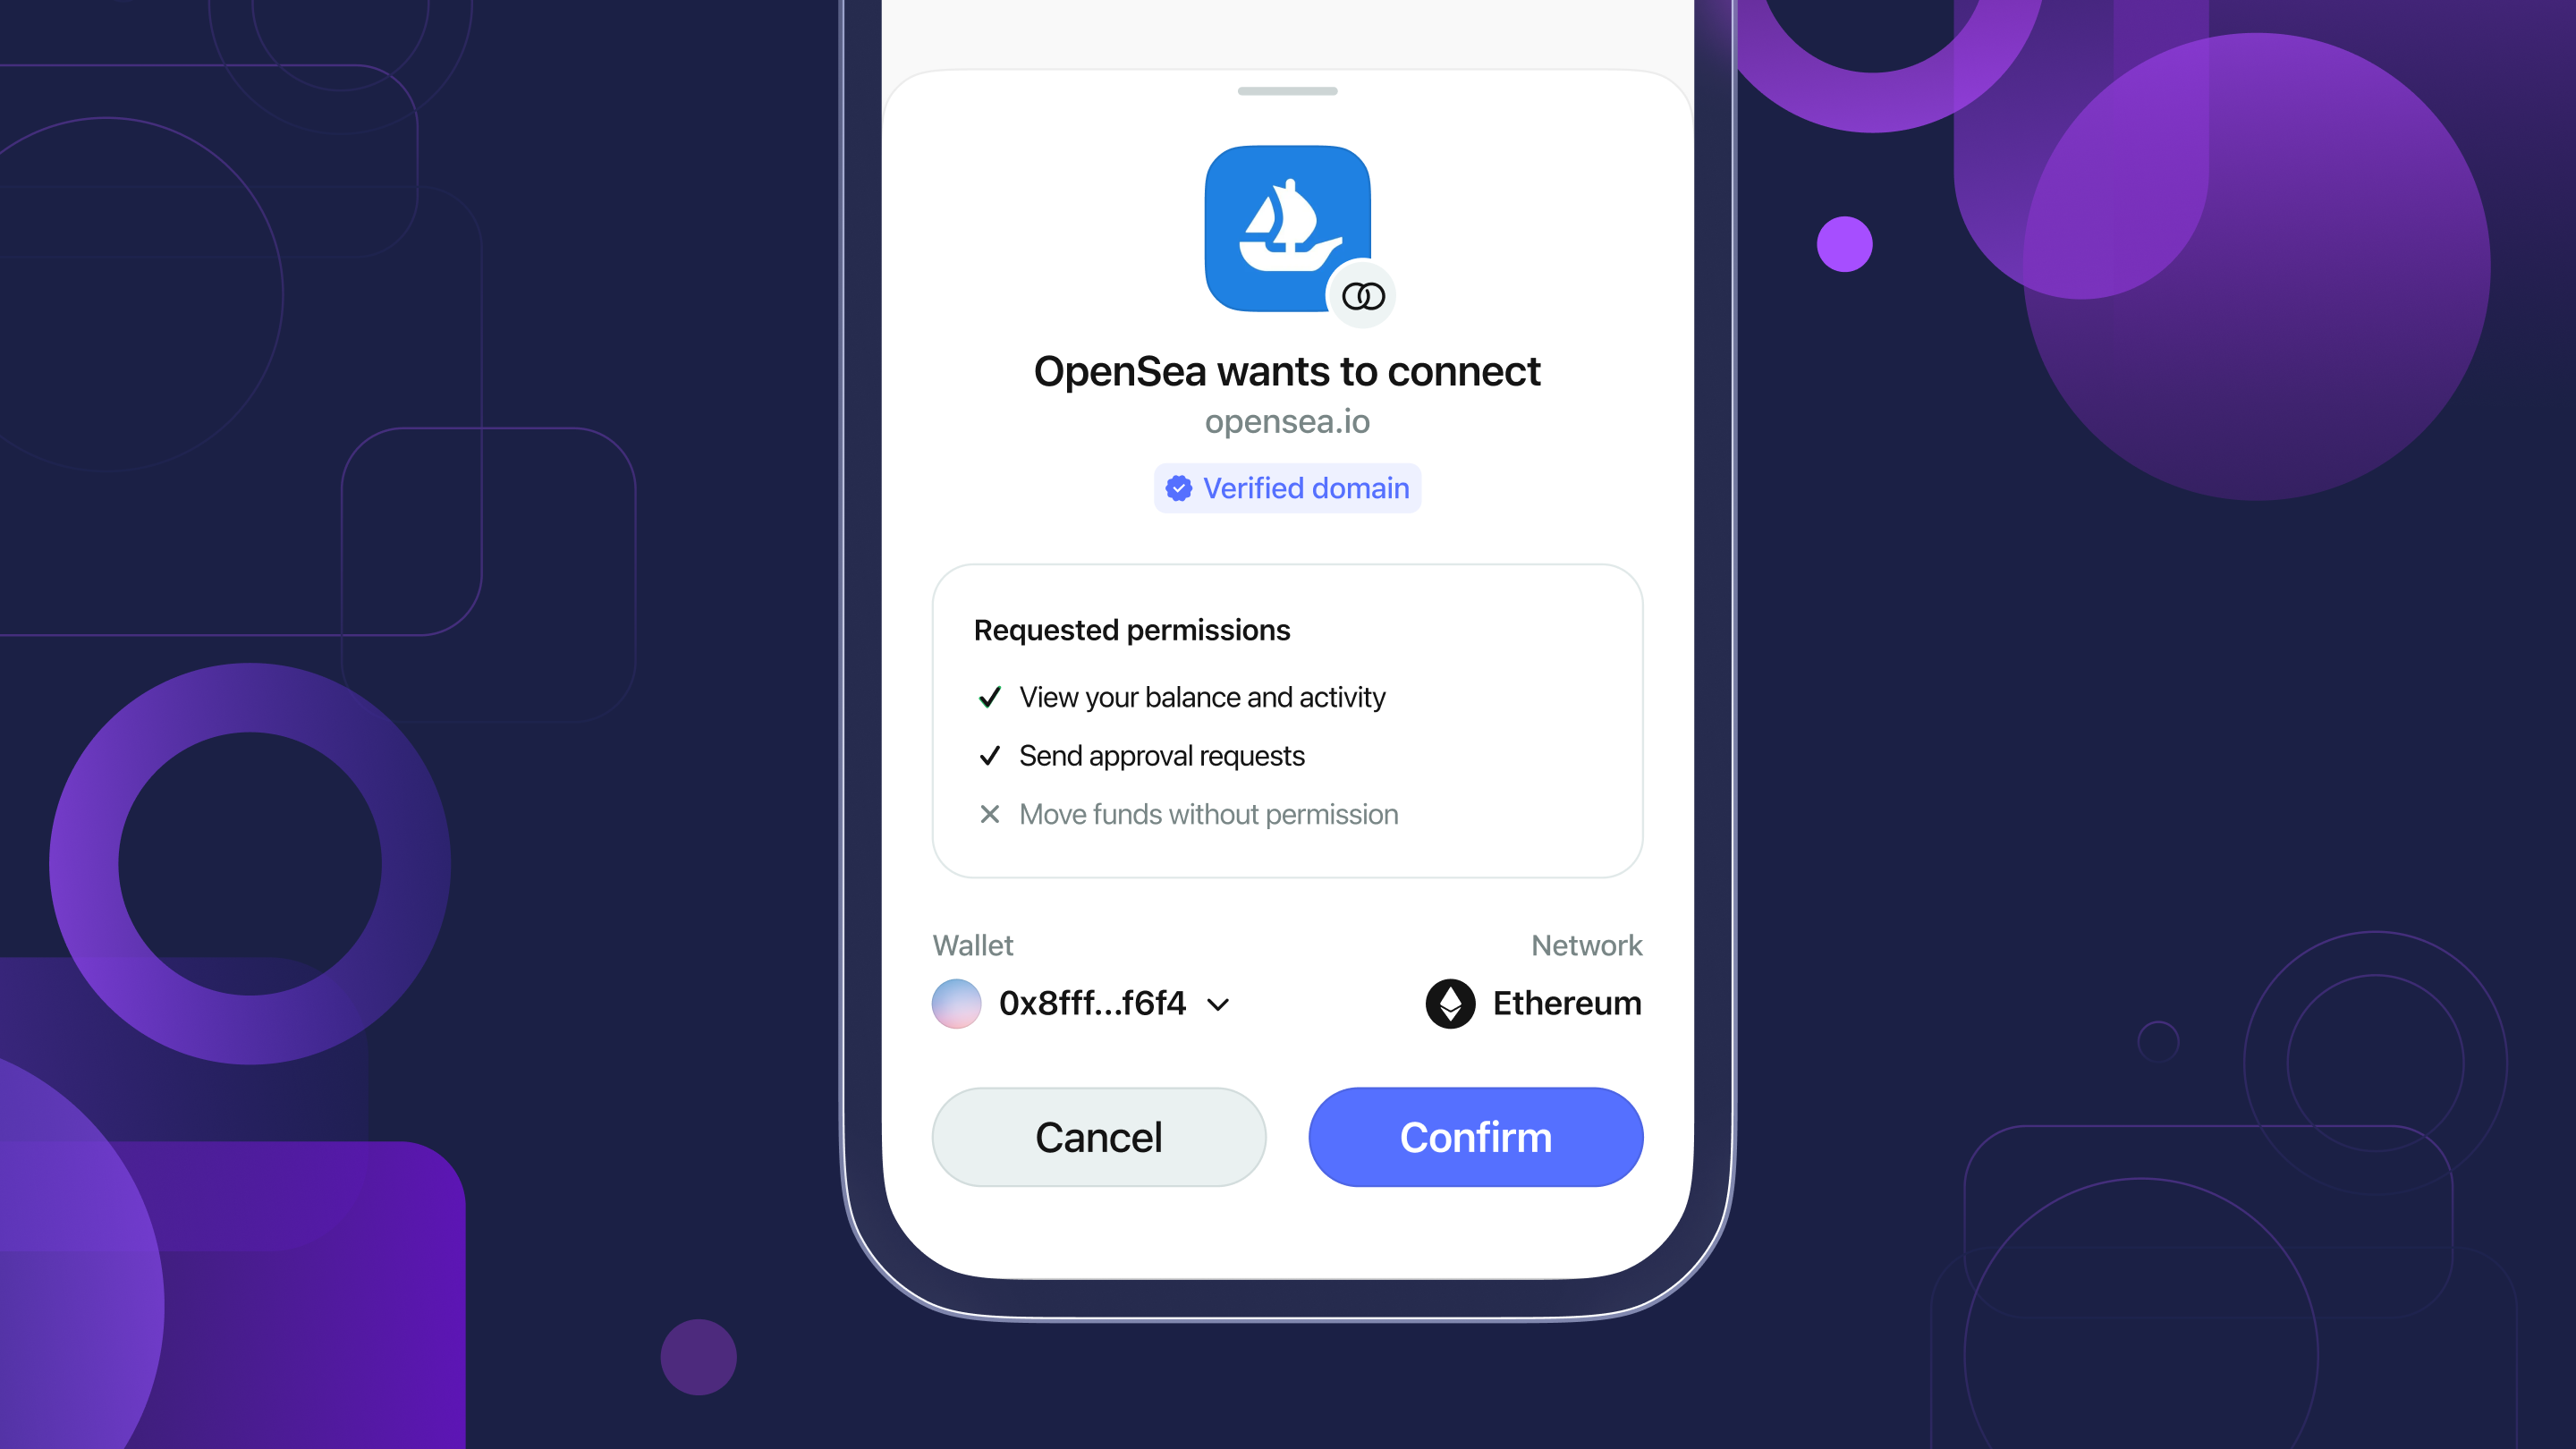
Push Notifications

The WalletConnect Web3Wallet SDK provides the functionality for wallets to receive push notifications through Firebase Cloud Messaging (FCM) and Apple Push Notification Service (APNs) via the Push Server. This feature ensures that wallets are promptly notified of incoming signature requests. Each push notification contains the encrypted details of the signature request. Upon receiving the notification, it can be decrypted and presented to the developer, allowing for customization of the message according to their requirements.

Server setup

For the push notifications to be forwarded to FCM or APNs, the Push Server will need to be configured with your FCM or APNs server API credentials.

App setup

Register the device token

To enable a device for push notifications, it's essential to register the device token using Web3Wallet.registerDeviceToken. This token can be obtained from either FCM or APNS, depending on the platform used.

In your AppDelegate, you need to register your device token for push notifications. To enable encrypted push notifications, set the enableEncrypted flag to true.

func application(_ application: UIApplication, didRegisterForRemoteNotificationsWithDeviceToken deviceToken: Data) {
Task(priority: .high) {
try await Web3Wallet.instance.register(deviceToken: deviceToken, enableEncrypted: true)
}
}

Receiving push notifications

After the device token is registered, the next step involves setting up the notification service specific to the platform being used. This service will decrypt the incoming requests and forward them to the developer for further processing and integration.

When using encrypted push notifications via APNs, the payload will look like this:

{
"aps": {
"content-available": 1,
"mutable-content": 1
},
"message": "String", // Encrypted payload
"topic": "String", // Subscription topic
"tag": "String" // Tag of the associated relay message
}

To decrypt a push notification, follow these steps:

  1. Instantiate UNNotificationServiceExtension

  2. Modify the content of newly delivered notifications. Learn more about modifying content in newly delivered notifications.

  3. Create a Shared Keychain Group

Ensure you have a keychain group that is shared between your wallet application and the notification service. This is set in the app during the Networking Client configuration as shown below:

Networking.configure(
groupIdentifier: "group.com.walletconnect.sdk",
projectId: InputConfig.projectId,
socketFactory: DefaultSocketFactory()
)
  1. Instantiate Web3WalletDecryptionService

Use the same group name inside your notification service extension.

override func didReceive(_ request: UNNotificationRequest, withContentHandler contentHandler: @escaping (UNNotificationContent) -> Void) {
self.contentHandler = contentHandler
self.bestAttemptContent = request.content

if let content = bestAttemptContent,
let topic = content.userInfo["topic"] as? String,
let ciphertext = content.userInfo["message"] as? String,
let tag = content.userInfo["tag"] as? UInt {

if Web3WalletDecryptionService.canHandle(tag: tag) {
let mutableContent = handleWeb3WalletNotification(content: content, topic: topic, tag: tag, ciphertext: ciphertext)
contentHandler(mutableContent)
} else if NotifyDecryptionService.canHandle(tag: tag) {
let mutableContent = handleNotifyNotification(content: content, topic: topic, ciphertext: ciphertext)
contentHandler(mutableContent)
} else {
let mutableContent = content.mutableCopy() as! UNMutableNotificationContent
mutableContent.title = "Error: unknown message tag"
}
}
}

handleWeb3WalletNotification and handleNotifyNotification methods can be found in our Sample App